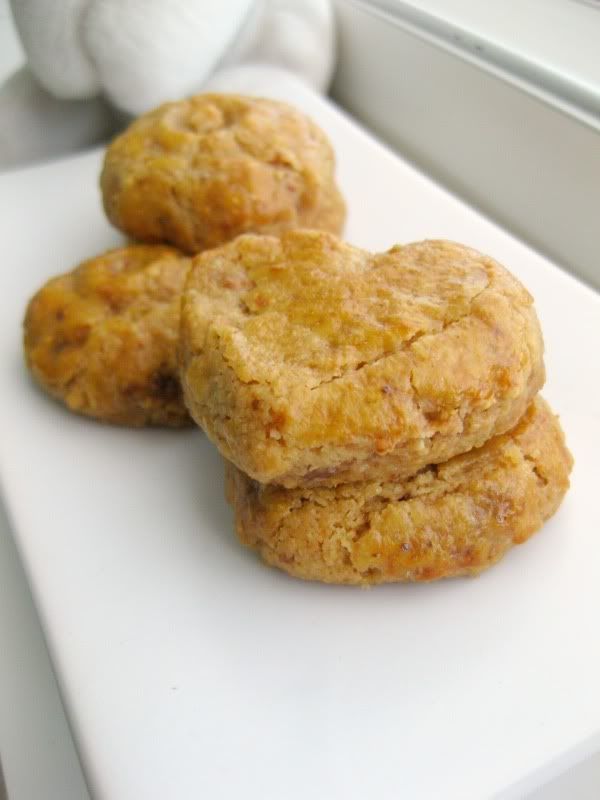
Besides pineapple tarts, this is another one of my must-haves during Chinese New Year. I first tried out this recipe last year, and they were so good that my mother declared that we shall never go back to store-bought peanut cookies. :) Which means that I think I have to make these every year from now on :p There's just something about freshly-made, really peanutty and preservative-free cookies that make all the difference :) Here's the recipe and step-by-step guide...
Ingredients:
- 200g finely ground peanuts
- 200g plain flour
- 100g icing sugar (or, if you like, use 75g icing sugar and 25g brown sugar for greater depth of flavour)
- 1/2 tsp baking powder
- 1/4 tsp salt
- 2 tbsp butter, softened
- 100g cooking oil
- 1 egg, beaten (for glaze)
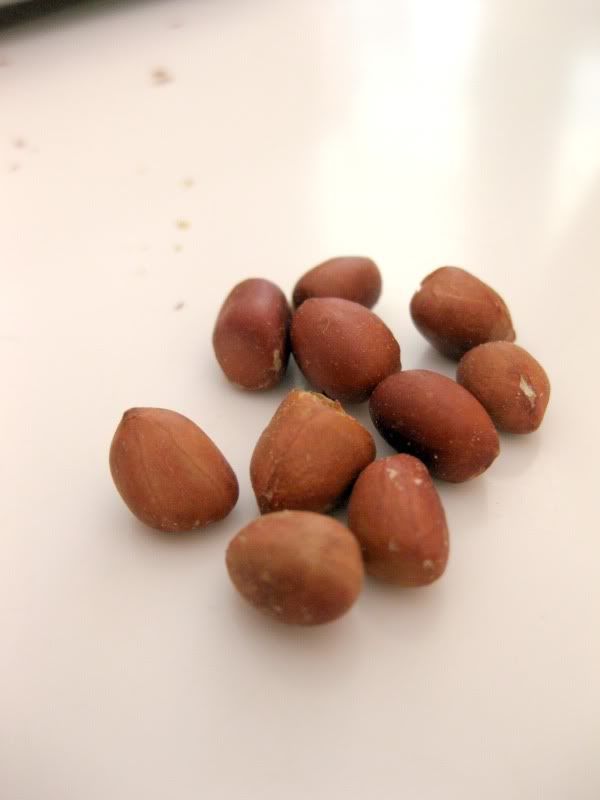
Ground peanuts are readily available in most supermarkets, but I prefer to roast my own as I can control the amount of oil and salt that go into the nuts. In this case, I didn't use any oil and salt when roasting. Just put the raw peanuts on a baking tray, and bake at 200degC for 12-15 minutes.Check on the nuts after 10 minutes, as they do burn easily.
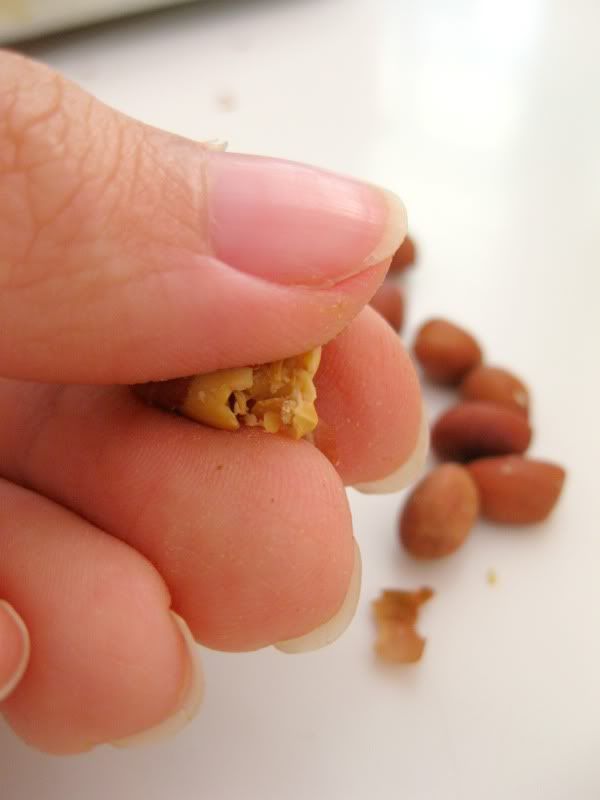
After the nuts cool for a few minutes (please don't forget this step, your fingers will thank you...), rub each nut between your fingers, and the papery skin will come off easily.
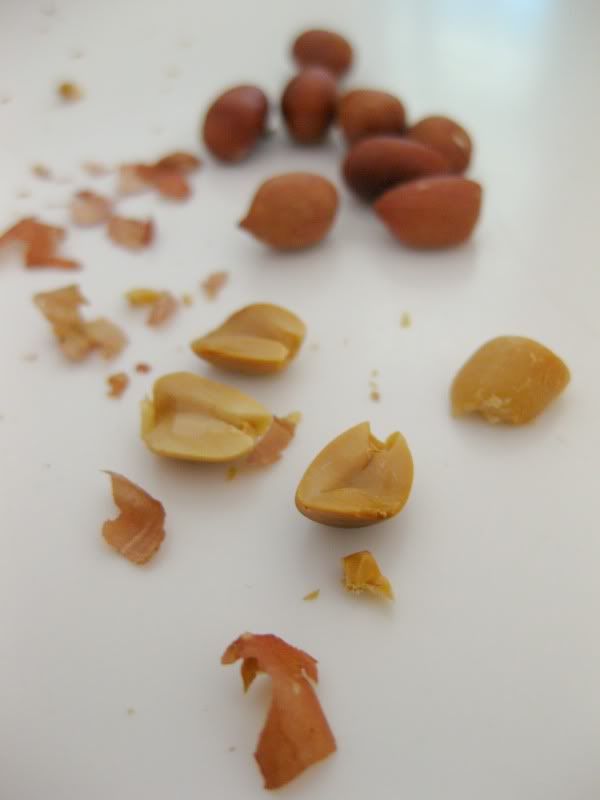
It's a bit time-consuming but also fun to do. Sort of like snapping the roots off beansprouts :p
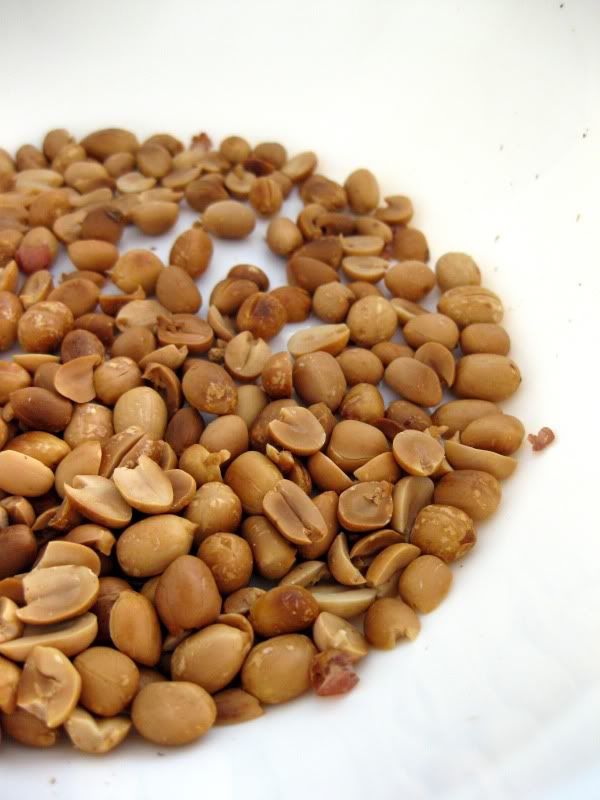
And before long you have your own beautifully-roasted peanuts :) If you look really closely you'll see that I burned these a little...went to eat lunch and forgot to check on them.
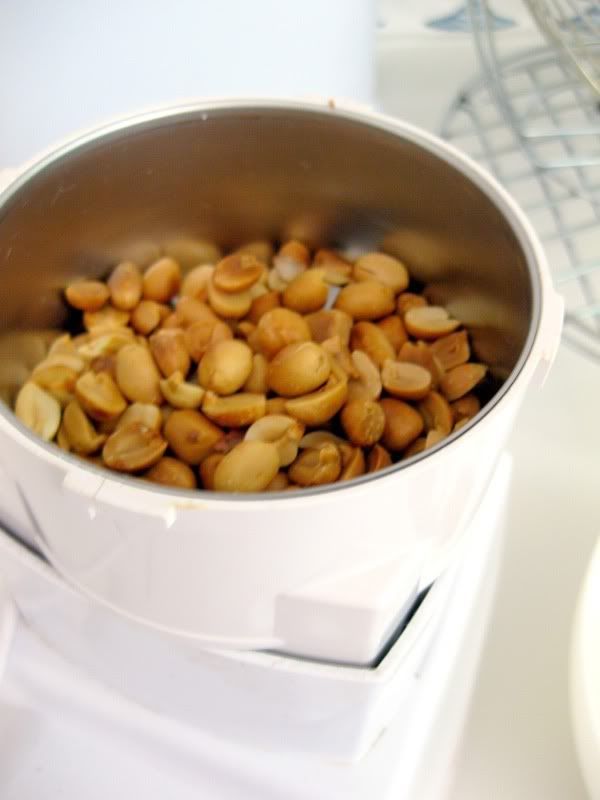
To make your life easier, use the chopper attachment of your blender to grind the nuts. If you don't have one, a mortar and pestle work fine too. Just that you'll have really strong arms at the end of it...
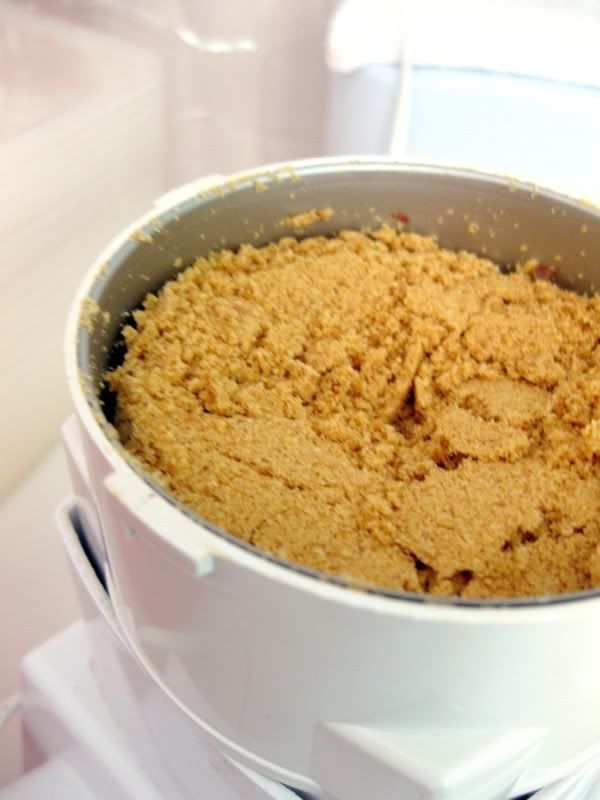
And there you have it...ground peanuts!
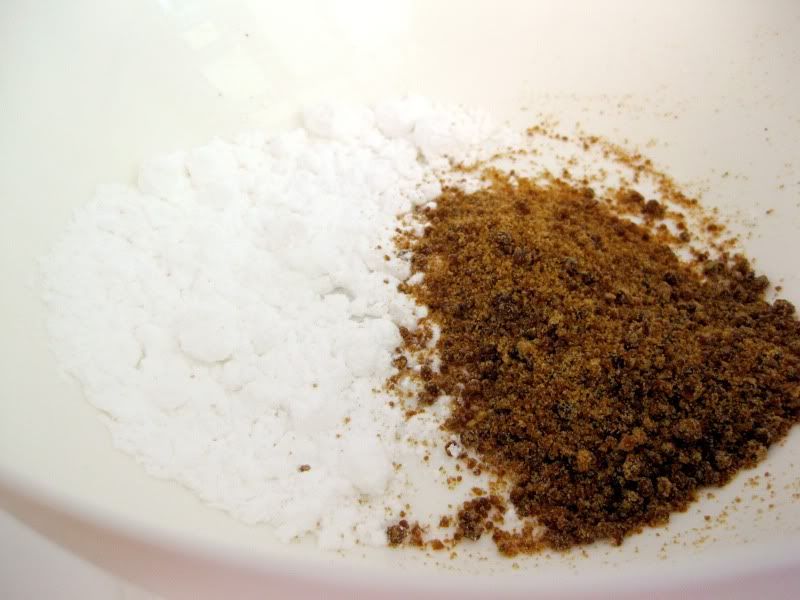
Icing sugar gives the cookies their fine, melt-in-the-mouth texture. But I like to add a bit of brown sugar (unrefined, if you can get it) for the deeper flavour. This time, I used black sugar (sometimes found in the dried herbs section of the supermarket).
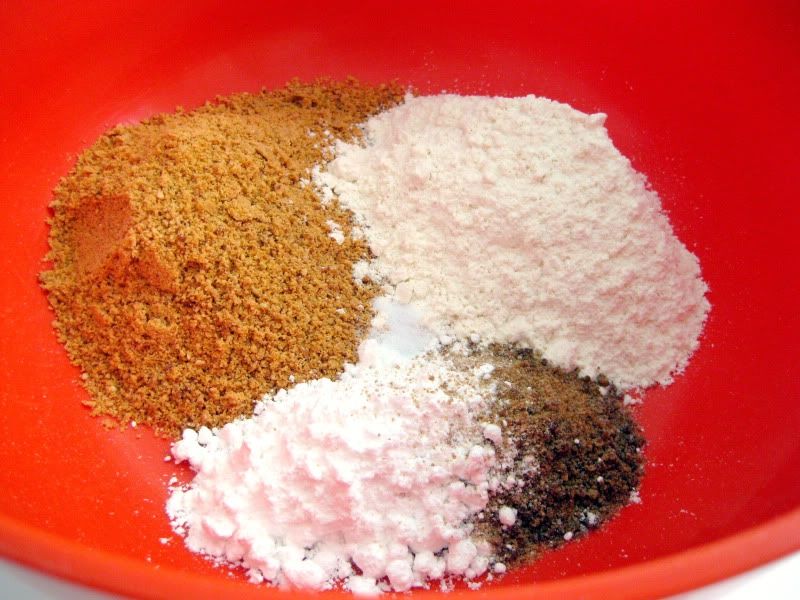
Put the ground peanuts, flour, sugar and salt into a nice big mixing bowl. And from now on, you're gonna do everything with your hands :D
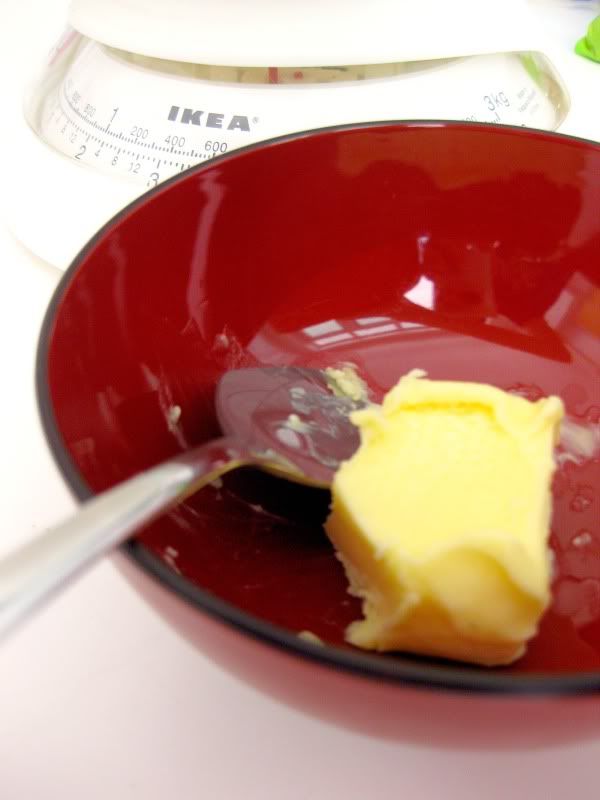
Add the 2 tablespoons of butter to the dry ingredients...
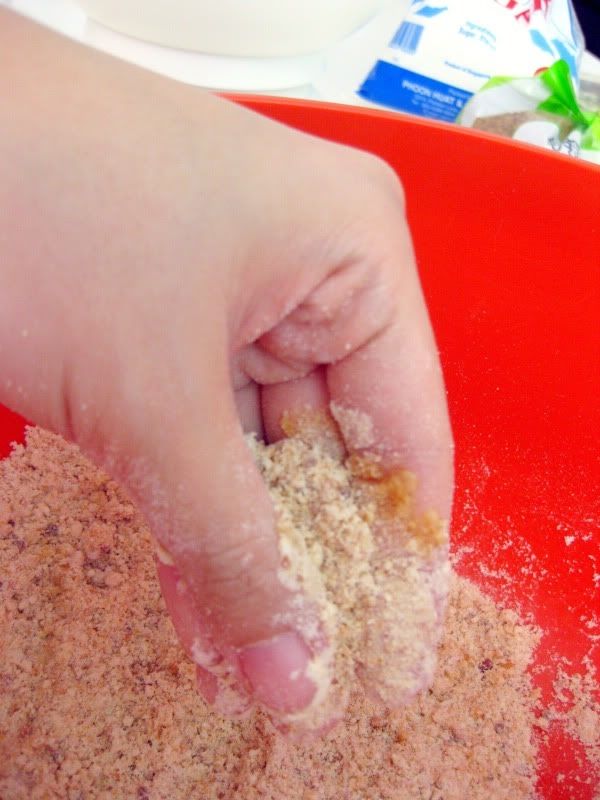
And rub it in. If you've made shortcrust pastry before, this is the same idea. If you haven't, well just rub the butter with the flour-peanut mixture until all the butter disappears.
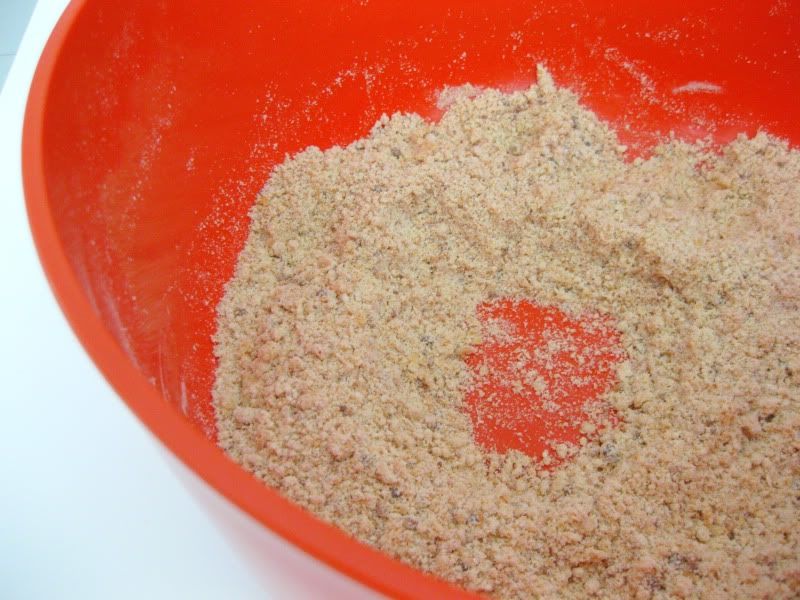
Next, make a hole or well in the middle of the bowl, like this...
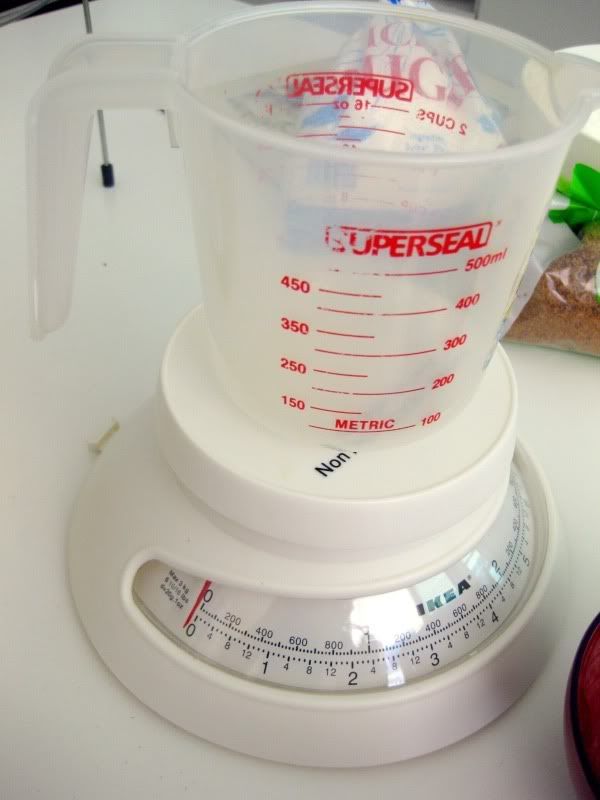
And measure out your cooking oil. To get 100g of oil, simply put your measuring cup or any container, really...on the weighing scale. Tare the scale back to zero, then pour in the oil until the dial hits 100g.

Pour the oil into the flour-peanut mixture in parts, mixing well with your hands after each addition. You may not use all the oil. When a dough is formed (i.e. everything sticks together), that's enough oil.
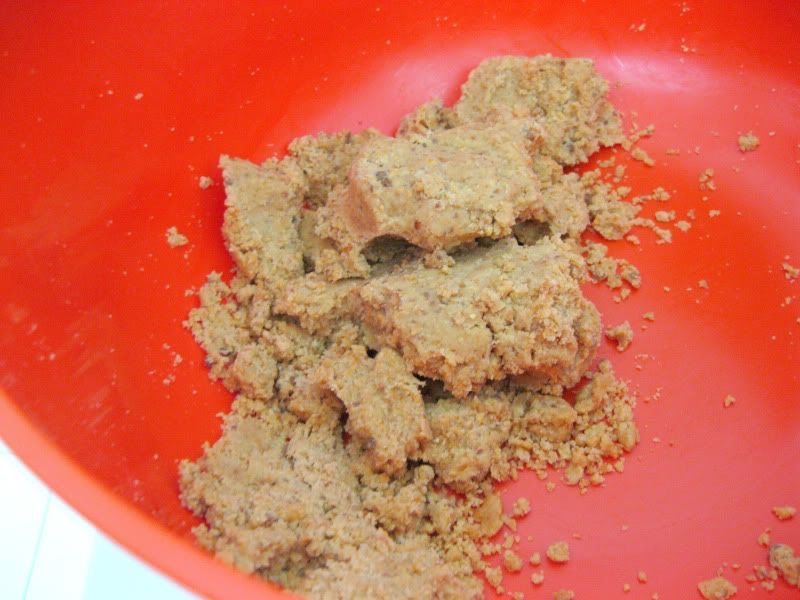
So this means: add more oil!
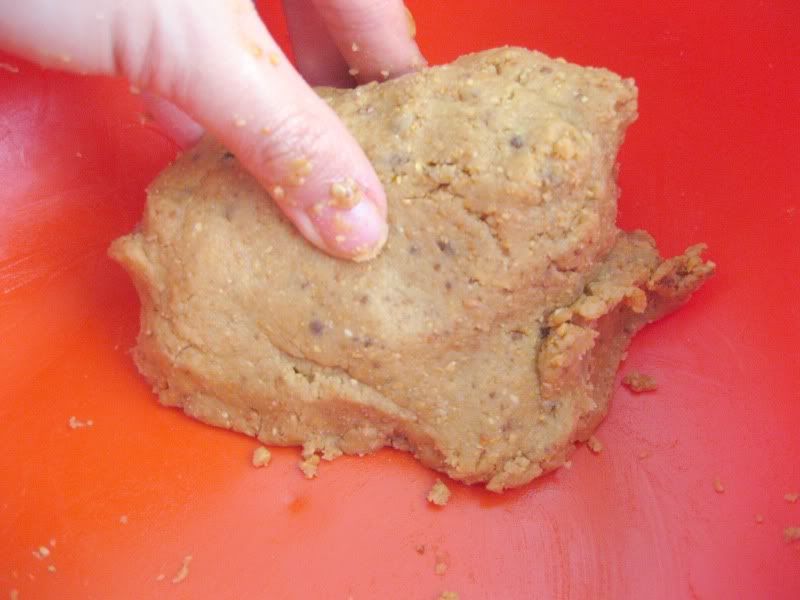
And this means: you can stop now! To make the dough more pliable and easy to work with, knead it a bit more as the heat from your hands will help meld all the oils in the dough.
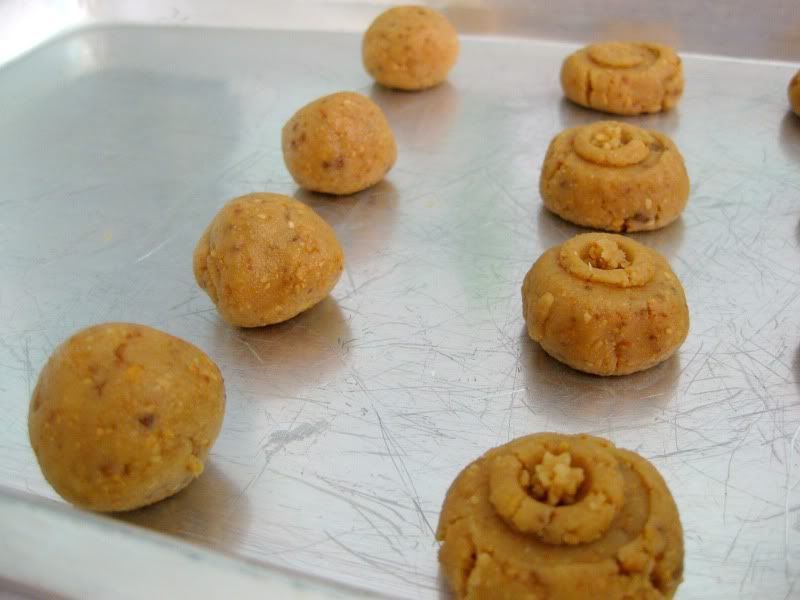
Roll the dough into small balls. Incidentally, that's another way to check if you've added enough oil. If the dough falls apart when you're rolling it into balls, add more oil!
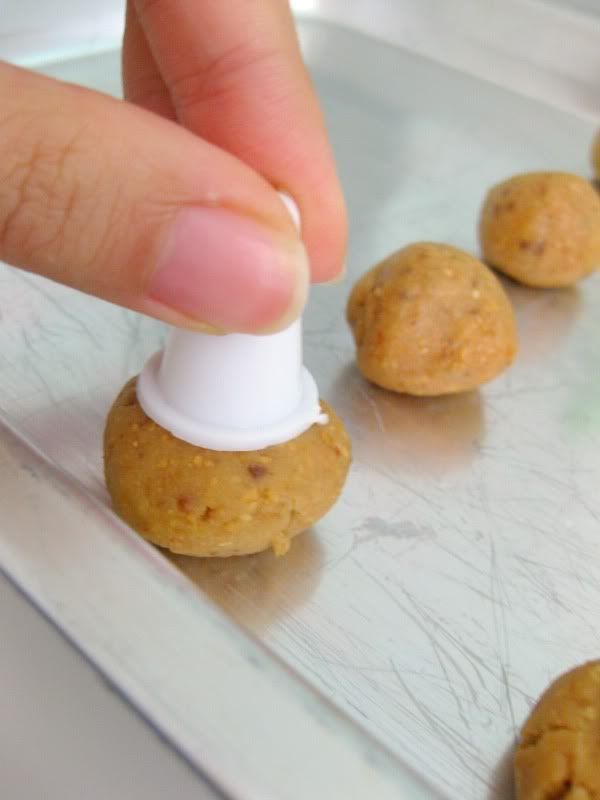
Flatten the balls of dough slightly (and decorate them) with whatever you have on hand. A fork, bottle cap, they all work and produce different patterns. Here I used both ends of a piping bag tip.
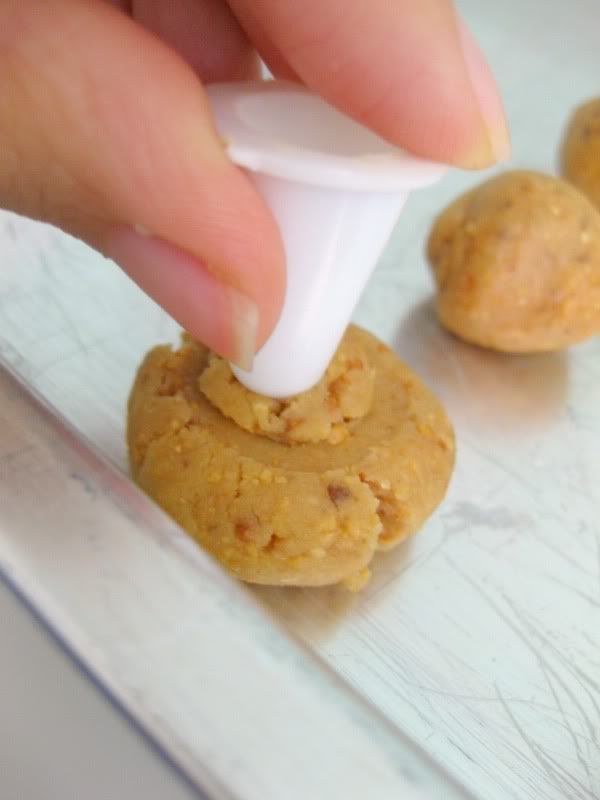
And this is how you can get two different patterns from one little tool :)
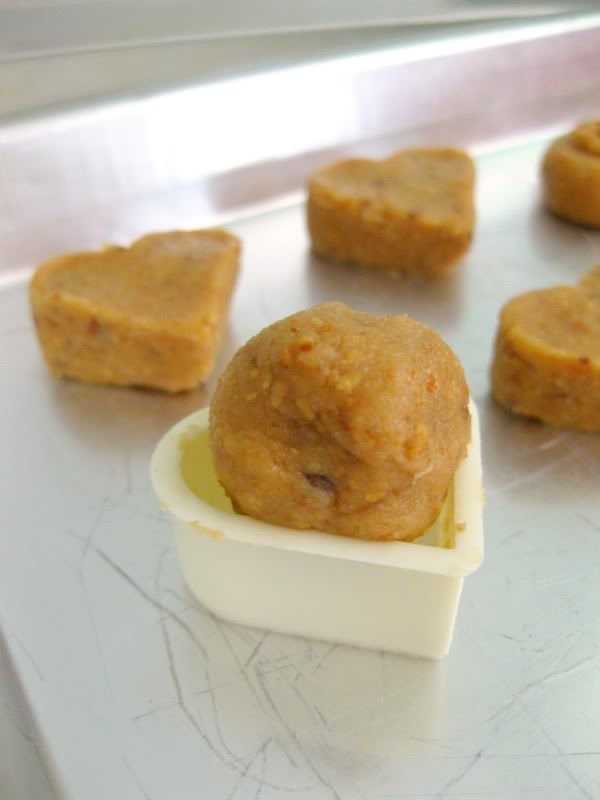
But since Valentine's Day is during CNY as well, why not do heart-shaped cookies? Push a ball of dough into a cookie-cutter...
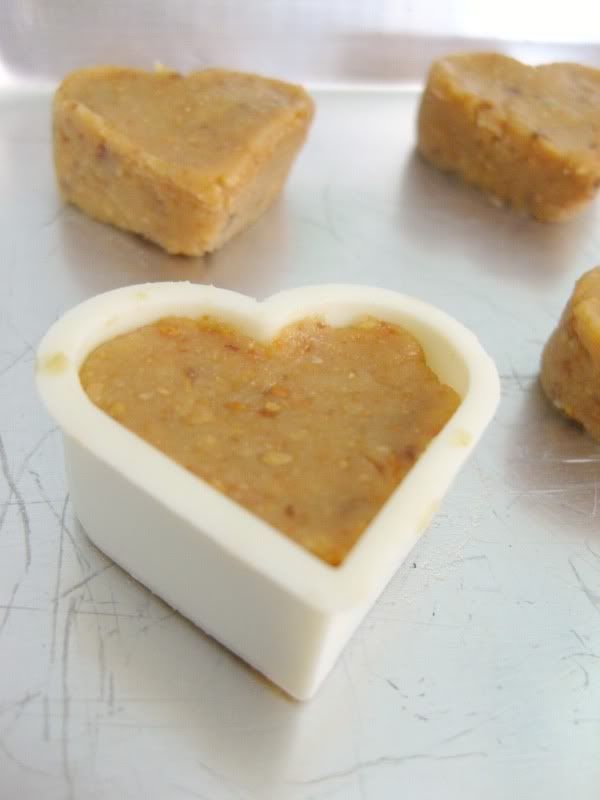
It should look something like this. Then gently push the heart out...
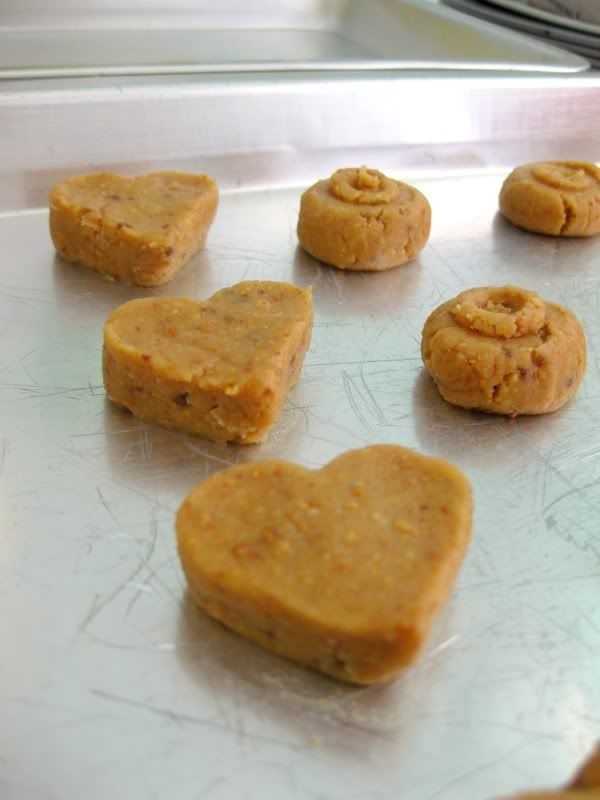
Ta-dah!

Here are some I did last year. I put a little peanut piece in the centre of each cookie for decorative purposes...

And for some reason...I had a peanut-shaped cookie cutter lying around. So I did peanut-shaped peanut cookies!
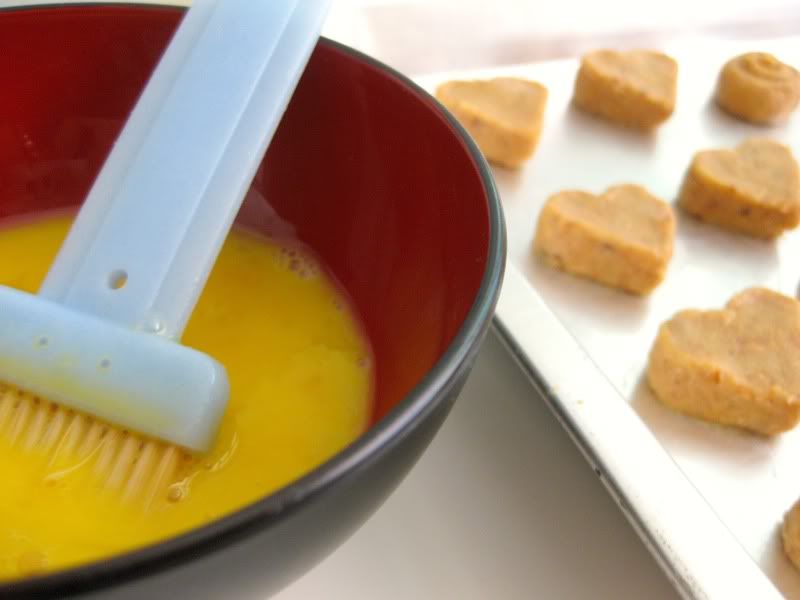
At this point, preheat your oven to 165degC. Brush a thin layer of egg onto each cookie. This gives it a nice golden colour and shine. There's no need to oil/grease the trays as peanuts have a lot of natural oils so the cookies won't stick :)

Bake for 15-20 minutes. Again, check on the cookies halfway so that they don't burn. Leave the cookies on the trays for about 5-10 minutes after baking. This allows them to set and firm up (if you try to move them before this you'll get crumbly peanut powder...)
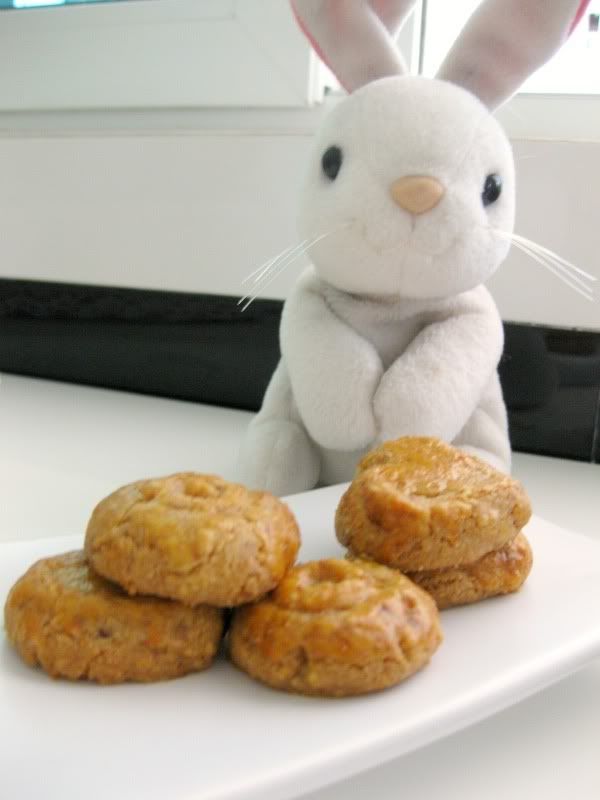
Have a happy and blessed year of the rabbit! :)
No comments:
Post a Comment